Using the DaVinici Resolve Workflow Integration Plugin
To install the DaVinici Resolve Workflow Integration Plugin, follow the instructions in Installing ShareBrowser.
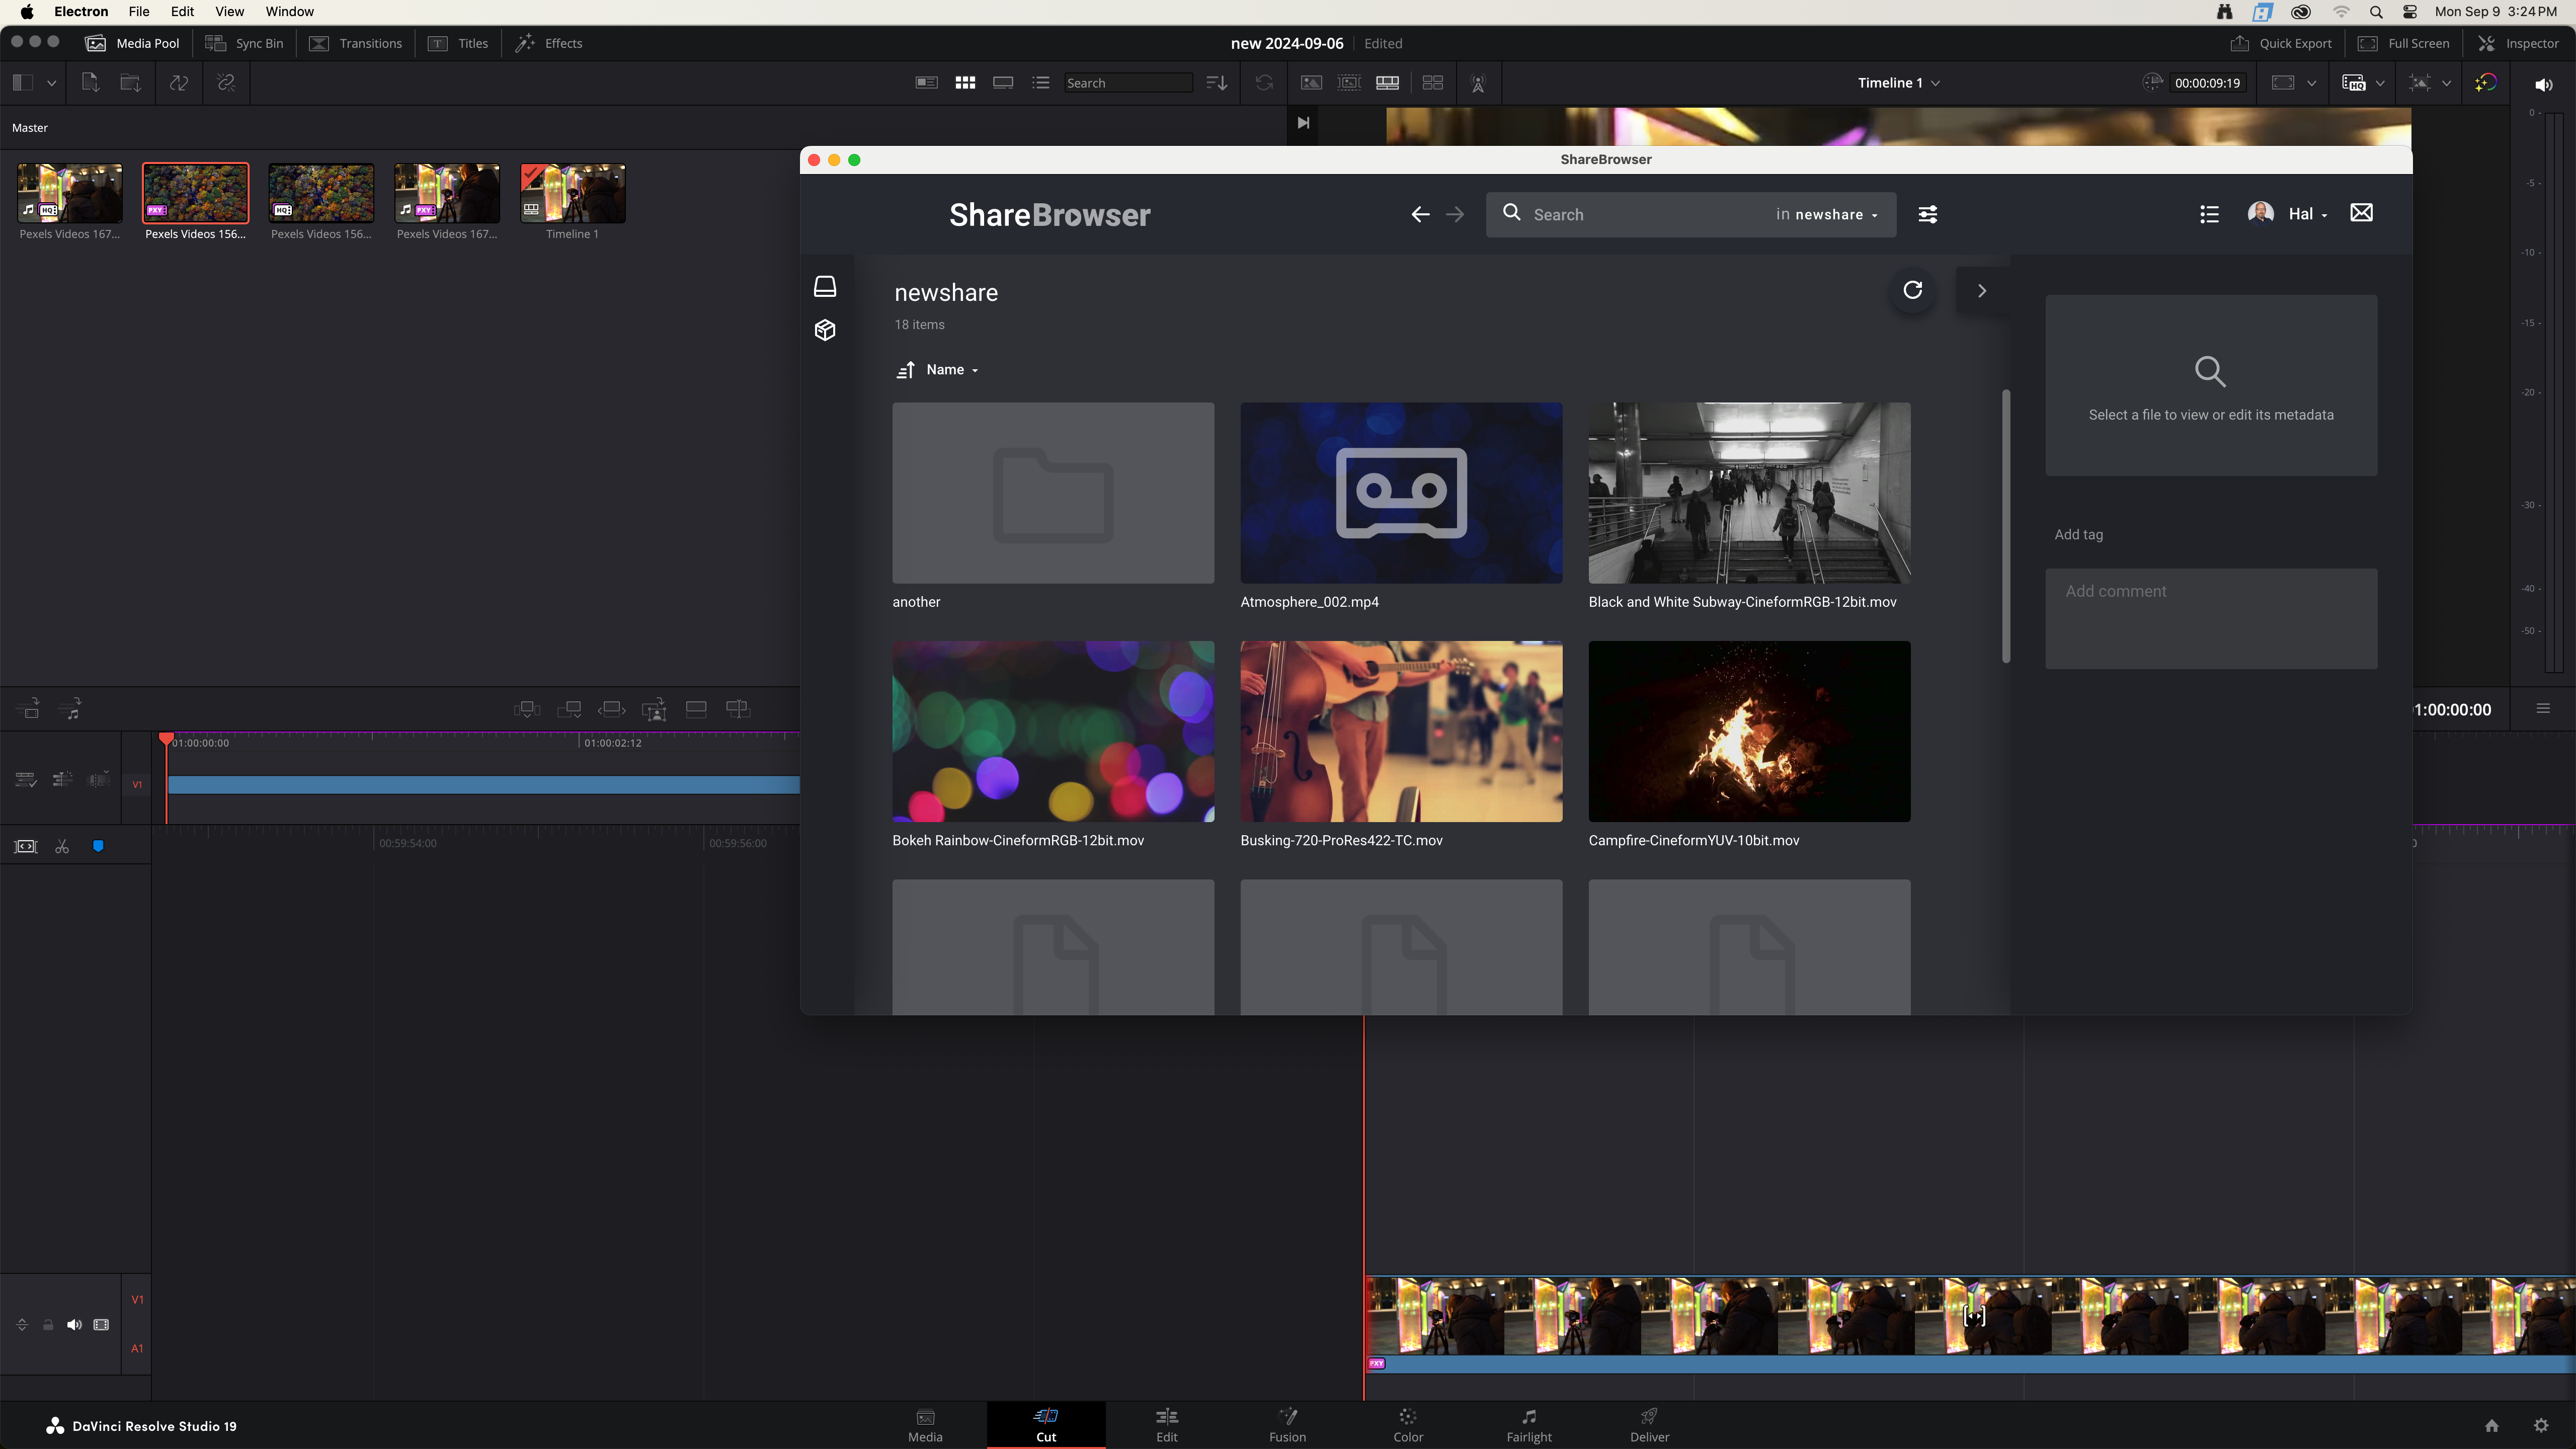
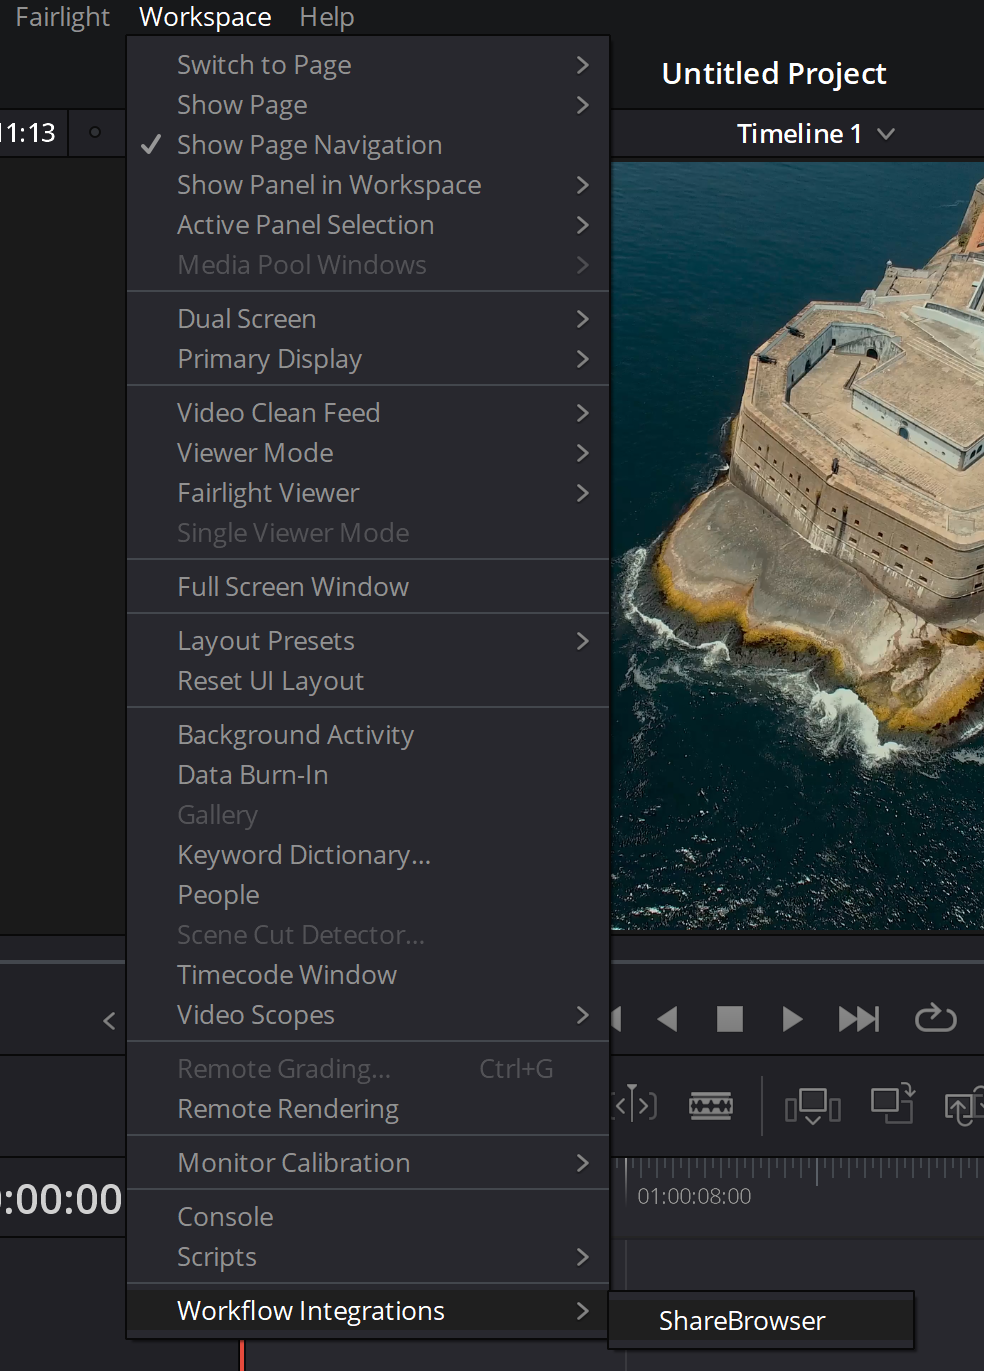
To open the extension in DaVinci Resolve, choose Workspace->Workflow Integrations->ShareBrowser. Next, login as you would to ShareBrowser.
Note
For full compatibility, this feature requires DaVinci Resolve Studio 18.5 or later.
The panel will default to list view.
The searching, bin, and metadata behavior work exactly the same as they do in ShareBrowser.
To add a clip to a Resolve, select the clip(s) right-click and click the import button.

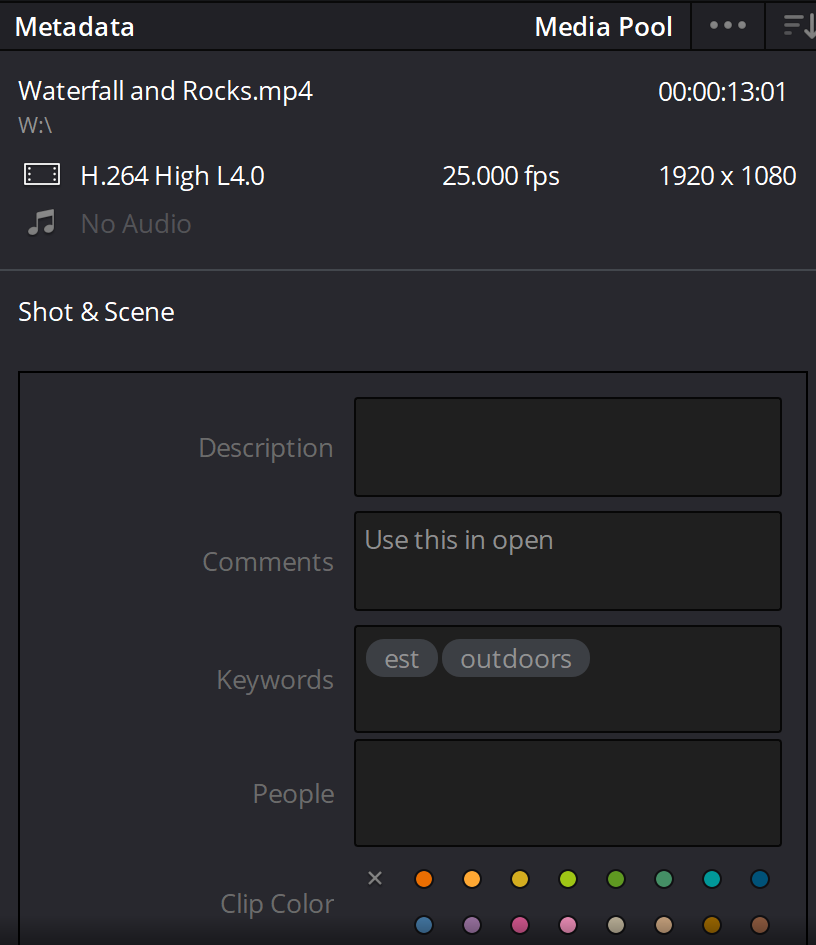
The tags and comments for these files will be imported as Keywords and Comments.
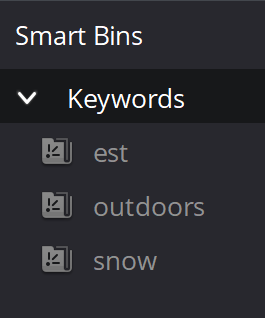
Additionally, the tags will also form Smart Bins in Resolve.
Including Proxies on Import
To include Edit-ready proxies or ShareBrowser preview proxies in Resolve, go to Settings in the Plugin and choose a location to which you would like to download the proxy files. This will automatically download the edit-ready proxy if it exists, or the ShareBrowser preview proxy if not (nothing if neither exist). If a file already exists in the download location, it will not be downloaded a second time, it will just be linked.
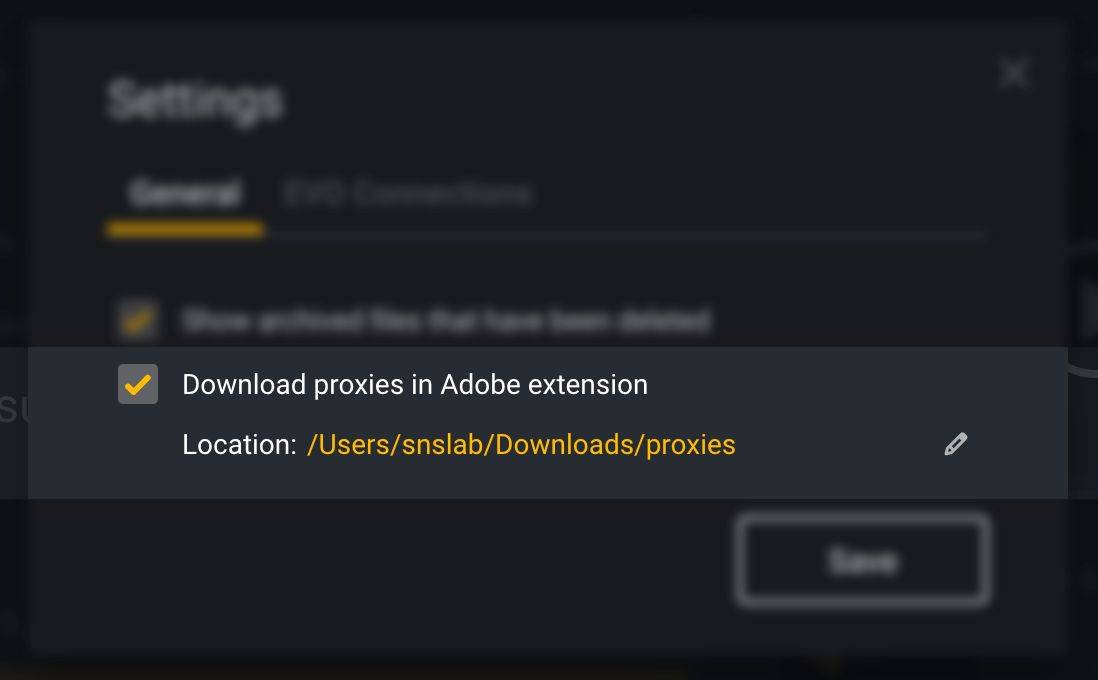
After setting this up, proxies will automatically be downloaded and linked to the source media on import.
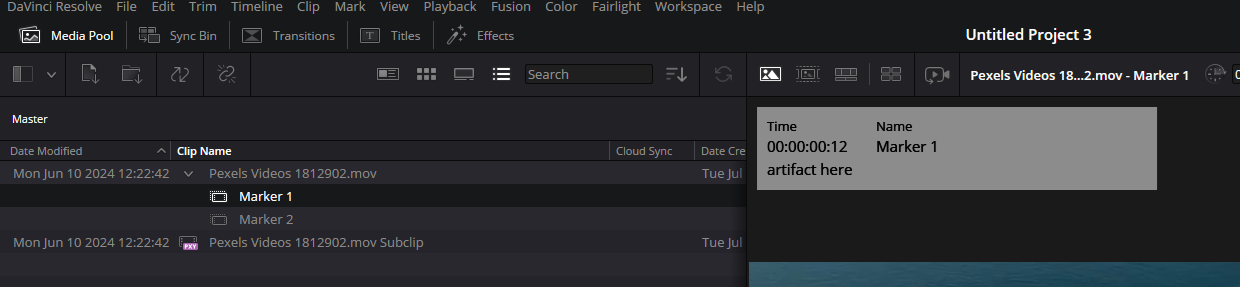
Subclips and Markers
The markers for imported clips will be imported as markers in Resolve with the corresponding comments becoming marker comments.
To import subclips to Resolve, right-click on a subclip from the right-hand pane.
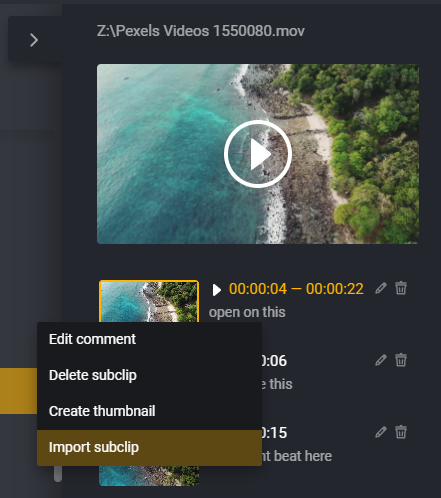
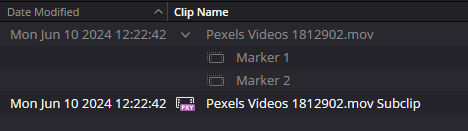
You can also import all subclips for a file by right-clicking the clip and choosing Import all subclips.

This will bring the original file into Resolve as well as the subclips. The subclip comments will be imported as comments on each subclip.

The volumes must be mounted to import files.