Mounting a Volume
The left pane of ShareBrowser is where workspaces are mounted. It displays a list of volumes and shares on EVO that are available to the logged in user. This appears when you click on the Disk icon.
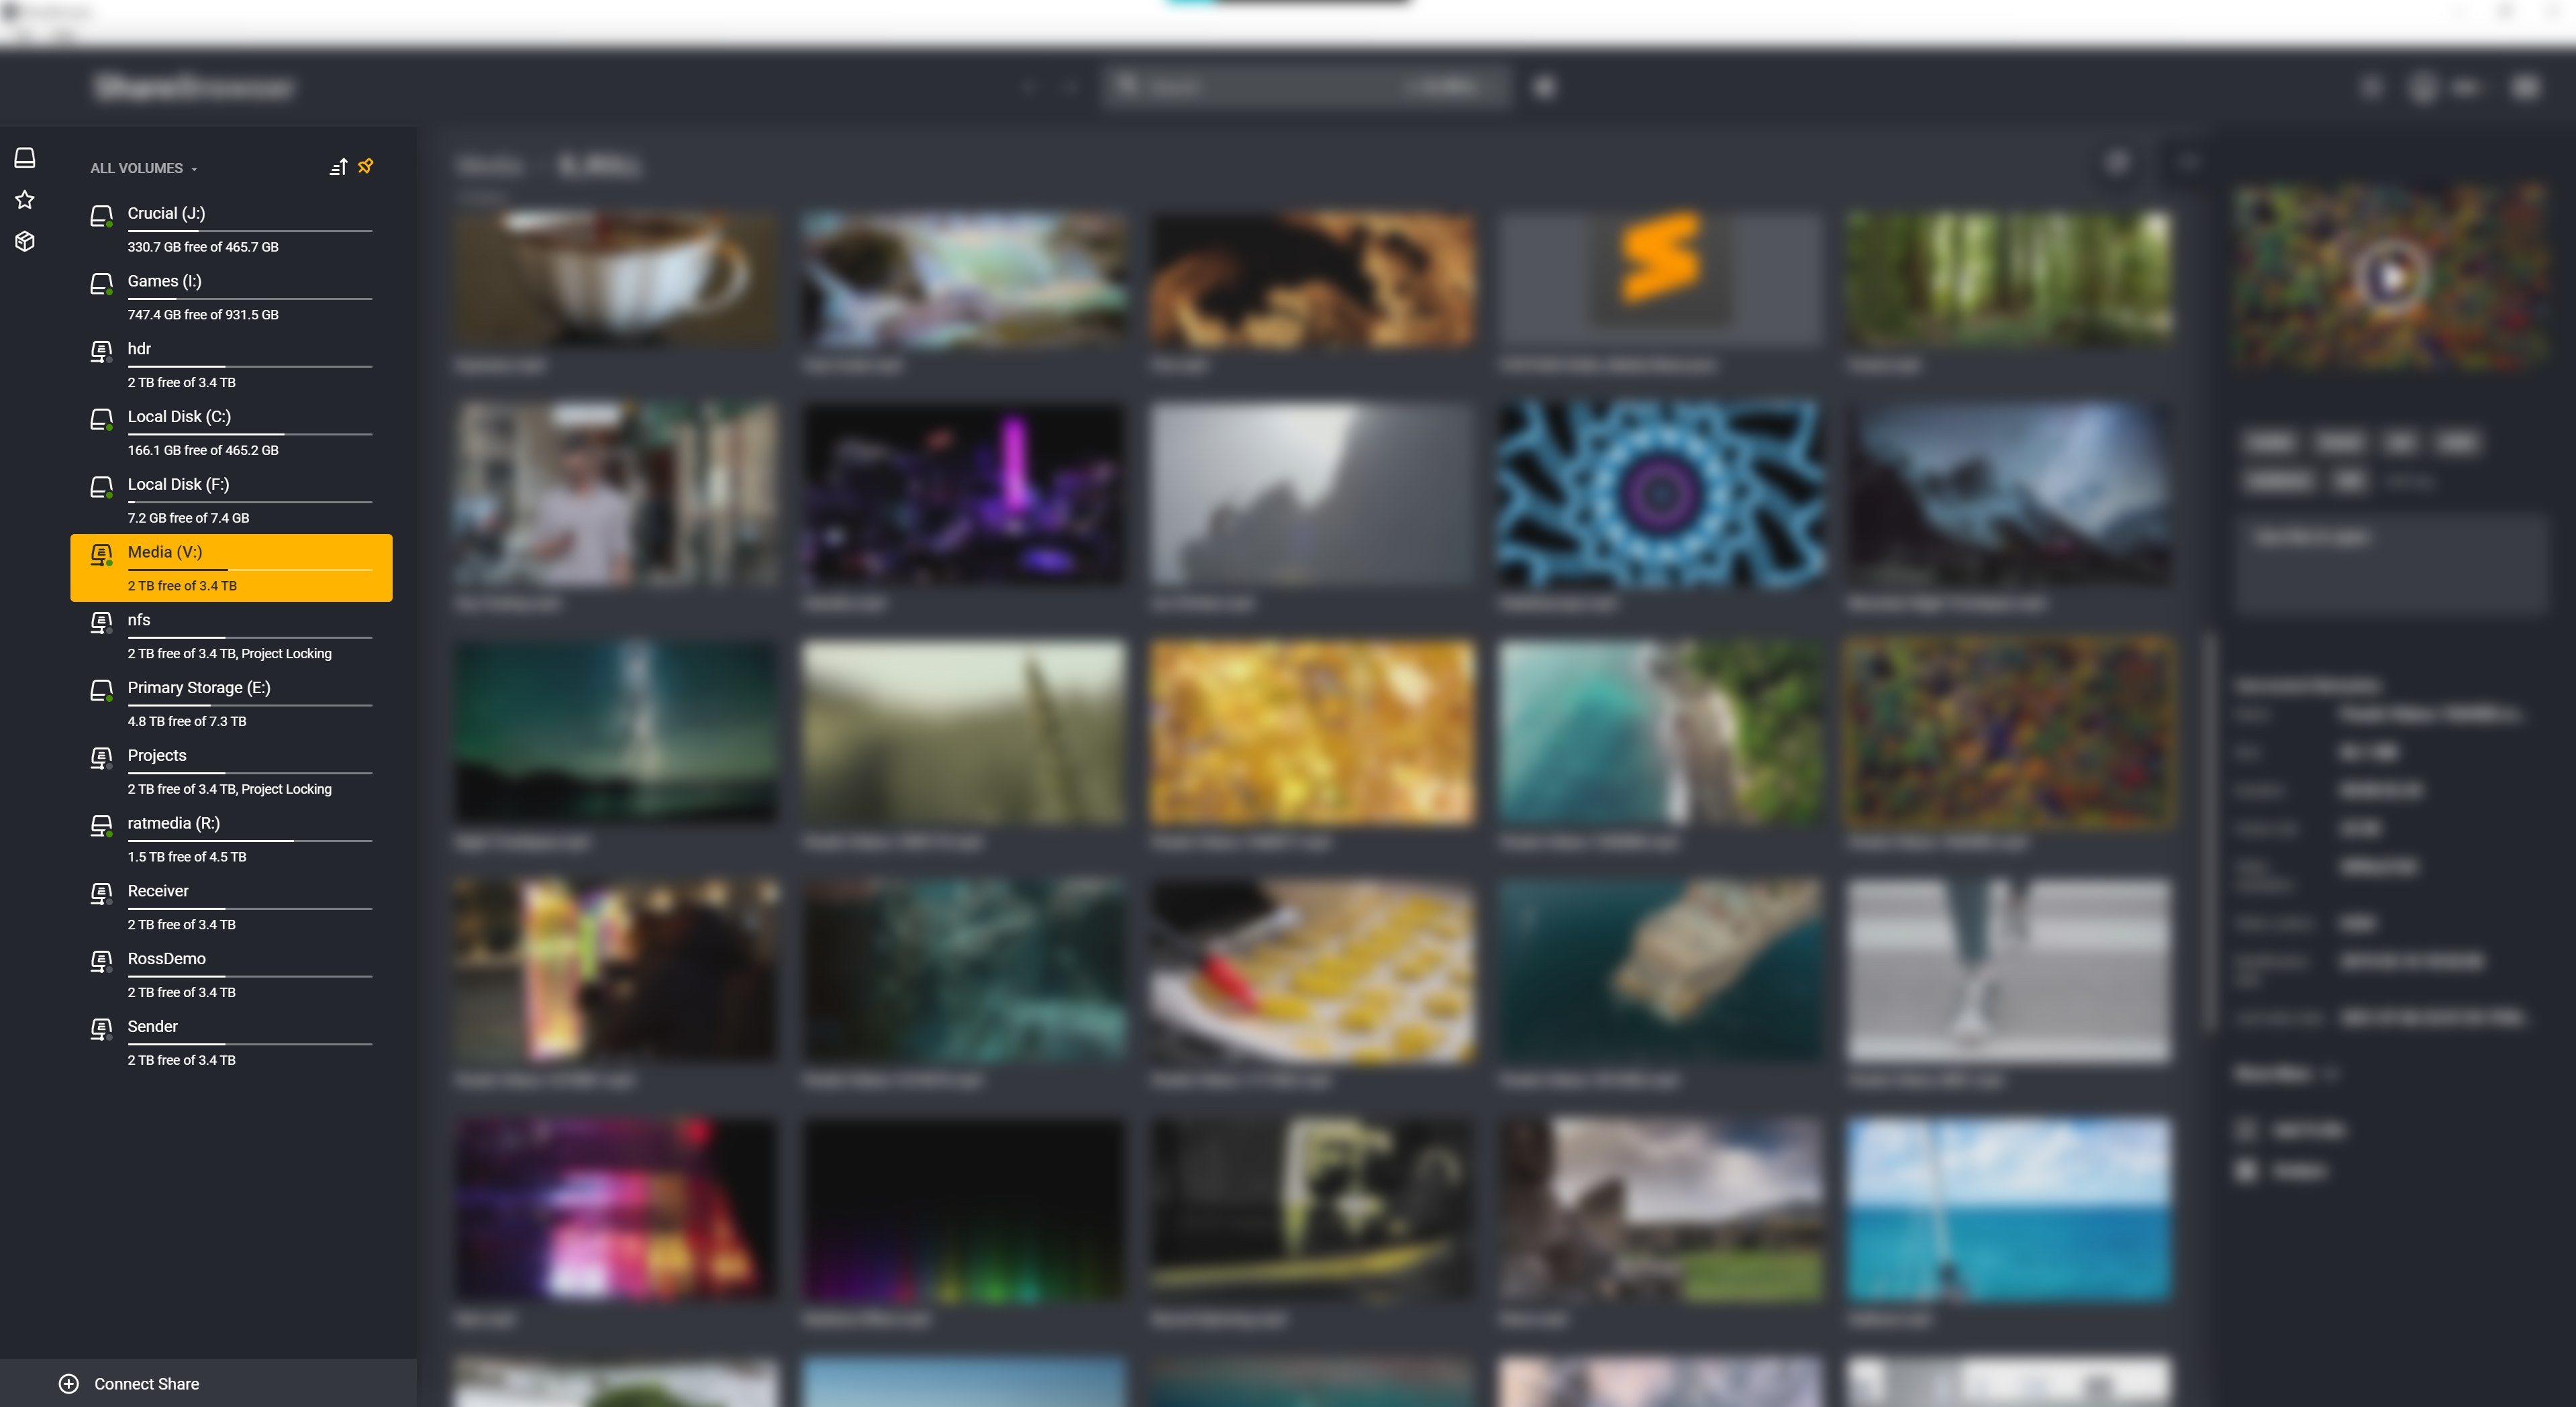
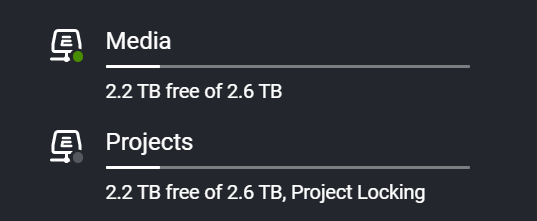
Each volume has a dot that shows whether the volume is offline (gray) or mounted (green). Below the volume’s name, you will also see available space, or the last known available space in the case of offline volumes. If it’s a volume on EVO, and has the E icon, it will also show whether the volume is Locked, Unlocked or a Project Locking share.
To multiselect volumes, first pin the pane, by clicking the ![]() then use shift or ctrl(command on mac) to multi-select volumes.
then use shift or ctrl(command on mac) to multi-select volumes.
To mount a volume(s) in ShareBrowser. Right-click on the selected volume and choose mount.

Additionally, you can mount volumes using bins. To do this, right-click a bin and choose Mount Shares. This will attempt to mount all shares that have items within that bin.
When mounting from Windows, you will be given the option to choose a drive letter. When using auto-mounting on login, Windows will attempt to use the same drive letters used previously for a share. See Auto-Mount Volumes on Login.
NAS Mounting Options
Highlighting mount will give you the mounting protocols available to your user. Typically, just SMB. If Avid compatibility was installed with ShareBrowser, this option will also be available for SMB shares. If the option required is unavailable, please check your EVO permissions in the EVO UI and refer to the EVO Manual if necessary.
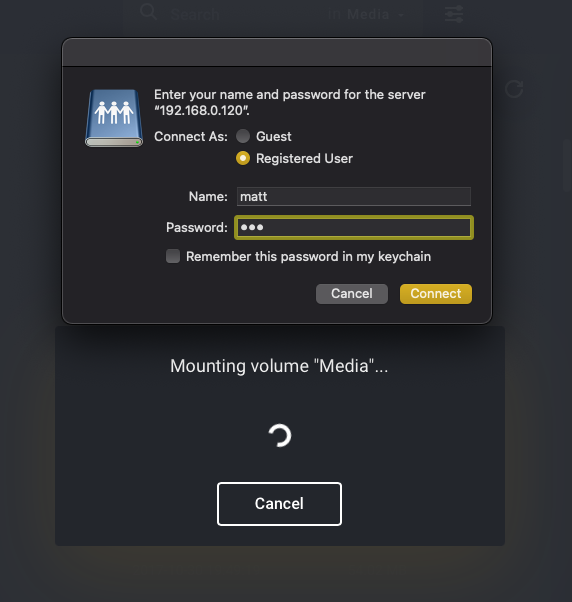
You will then be prompted to enter the NAS user credentials for the volume.
Note
If a share has reached 93% capacity a user will receive a message about critically low space. Free space can be created by removing unnecessary files, emptying the network recycle bin (if applicable), or adding more storage capacity. This message will show up for each share over 93% full and can be disabled for 7 days.
Volume List Filter
At the top of the ShareBrowser Volume list there is a Volume List Filter toggle. This will change what volumes are shown in the volume list. The options are:
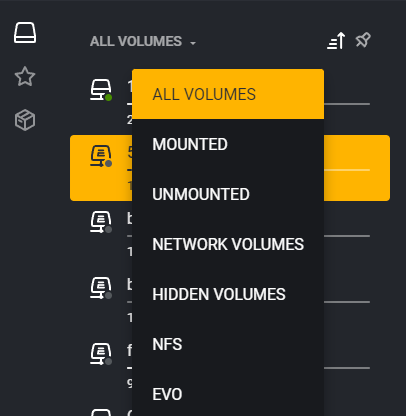
All Volumes: This will show all volumes that are mounted, available to mount, or have been added to the ShareBrowser database.
Mounted: This will show all volumes that are mounted.
Unmounted: This will show all EVO and ShareBrowser indexed drives that are not currently mounted.
Network Volumes: This will only show volumes that are connected by a network protocol.
Hidden Volumes: These volumes have been hidden by the user. For more on this see Hide Volumes.
NFS: This will only show drives that can be mounted as NFS.
EVO: This will only show EVO volumes.
AvidFS: This will only show drives that can be mounted as Avid (if Avid emulation is installed).
The default Volume List view is All Volumes, but when changed will be remembered on the next login.
Hide Volumes
Any Volume can be hidden in ShareBrowser by your user. This is stored in a system-side setting and will apply per workstation.
To hide volumes, simply right-click them and choose Hide Volume. If a volume is hidden, results from that volume will not appear when searching.
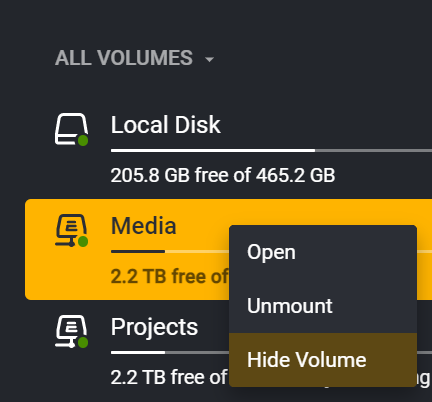
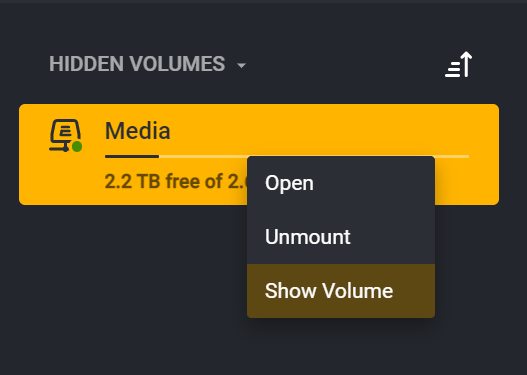
To see these volumes again, choose Hidden Volumes in the Volume List Filter.
From here, you can right-click and choose to Show Volume.
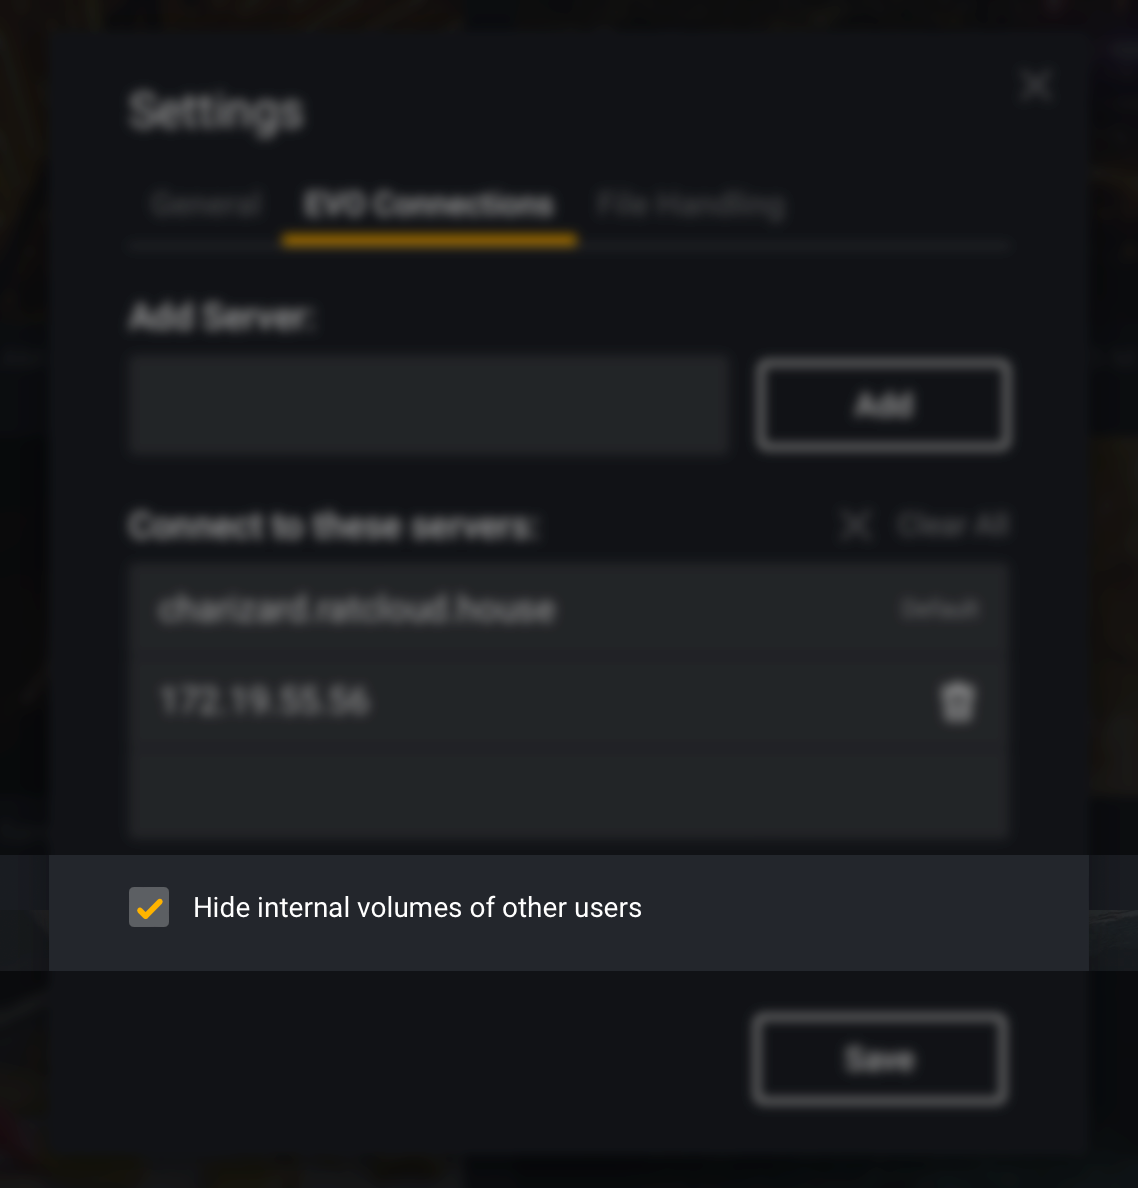
Hide Internal Volumes of Other Users
Once volumes have been seen and metadata has been added or scraped, they will be viewable and searchable in ShareBrowser. This includes volumes that may be internal on other users’ systems. If you do not want to see these volumes, they can be hidden by a checkbox in Settings.
Auto-Mount Volumes on Login
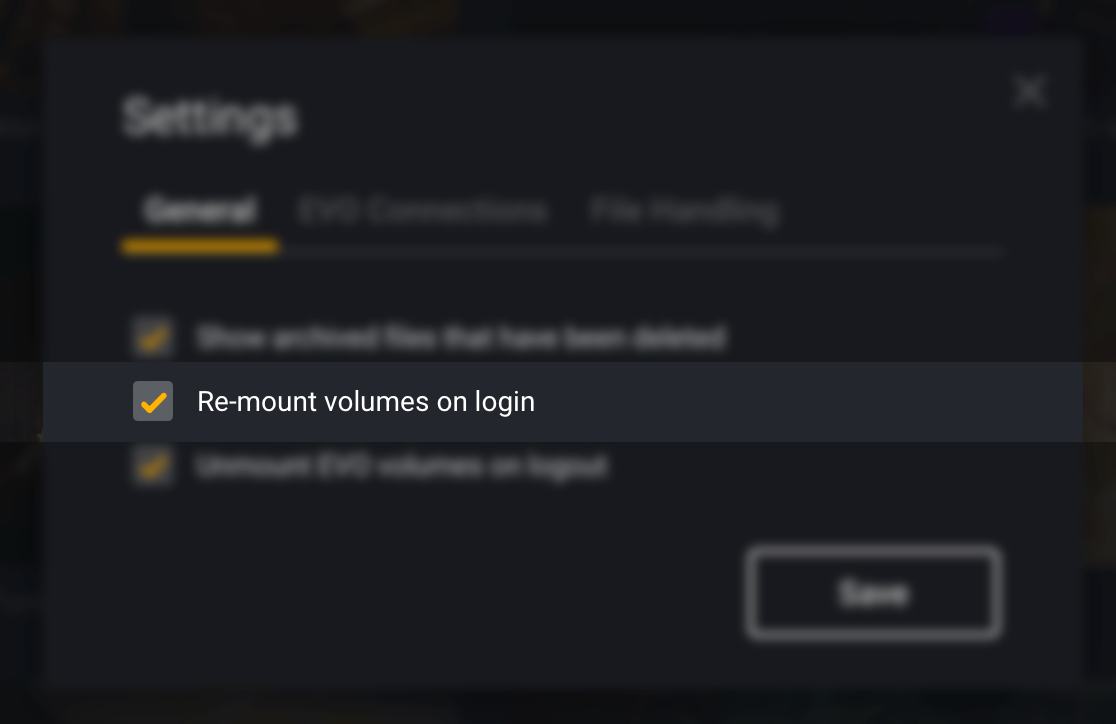
ShareBrowser can be configured to automatically mount the volumes that were mounted when ShareBrowser was last closed. This can be toggled on or off in Settings.
Unmount EVO Volumes on Logout
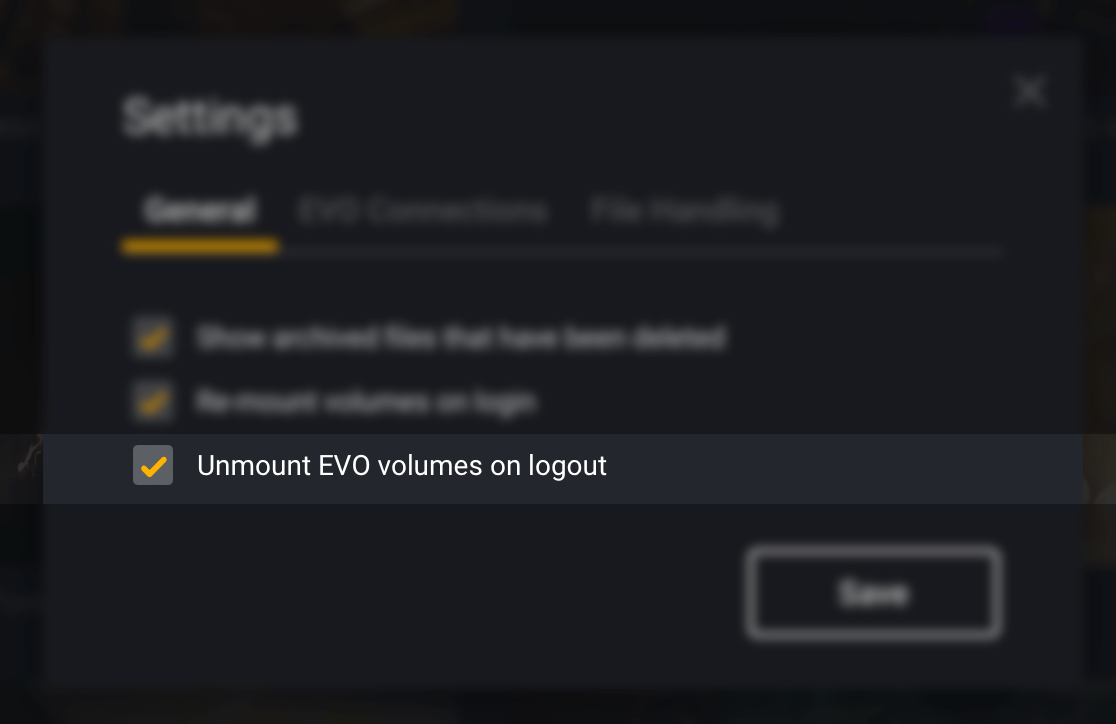
ShareBrowser can automatically attempt to unmount EVO Volumes when exiting the program. Use this to improve security when multiple users might be using the same computer.
Adding a Volume from Another Server
It’s also possible to mount volumes from other servers within ShareBrowser. To do this, click Connect Share at the bottom of the Volume List and enter the path to the share.
